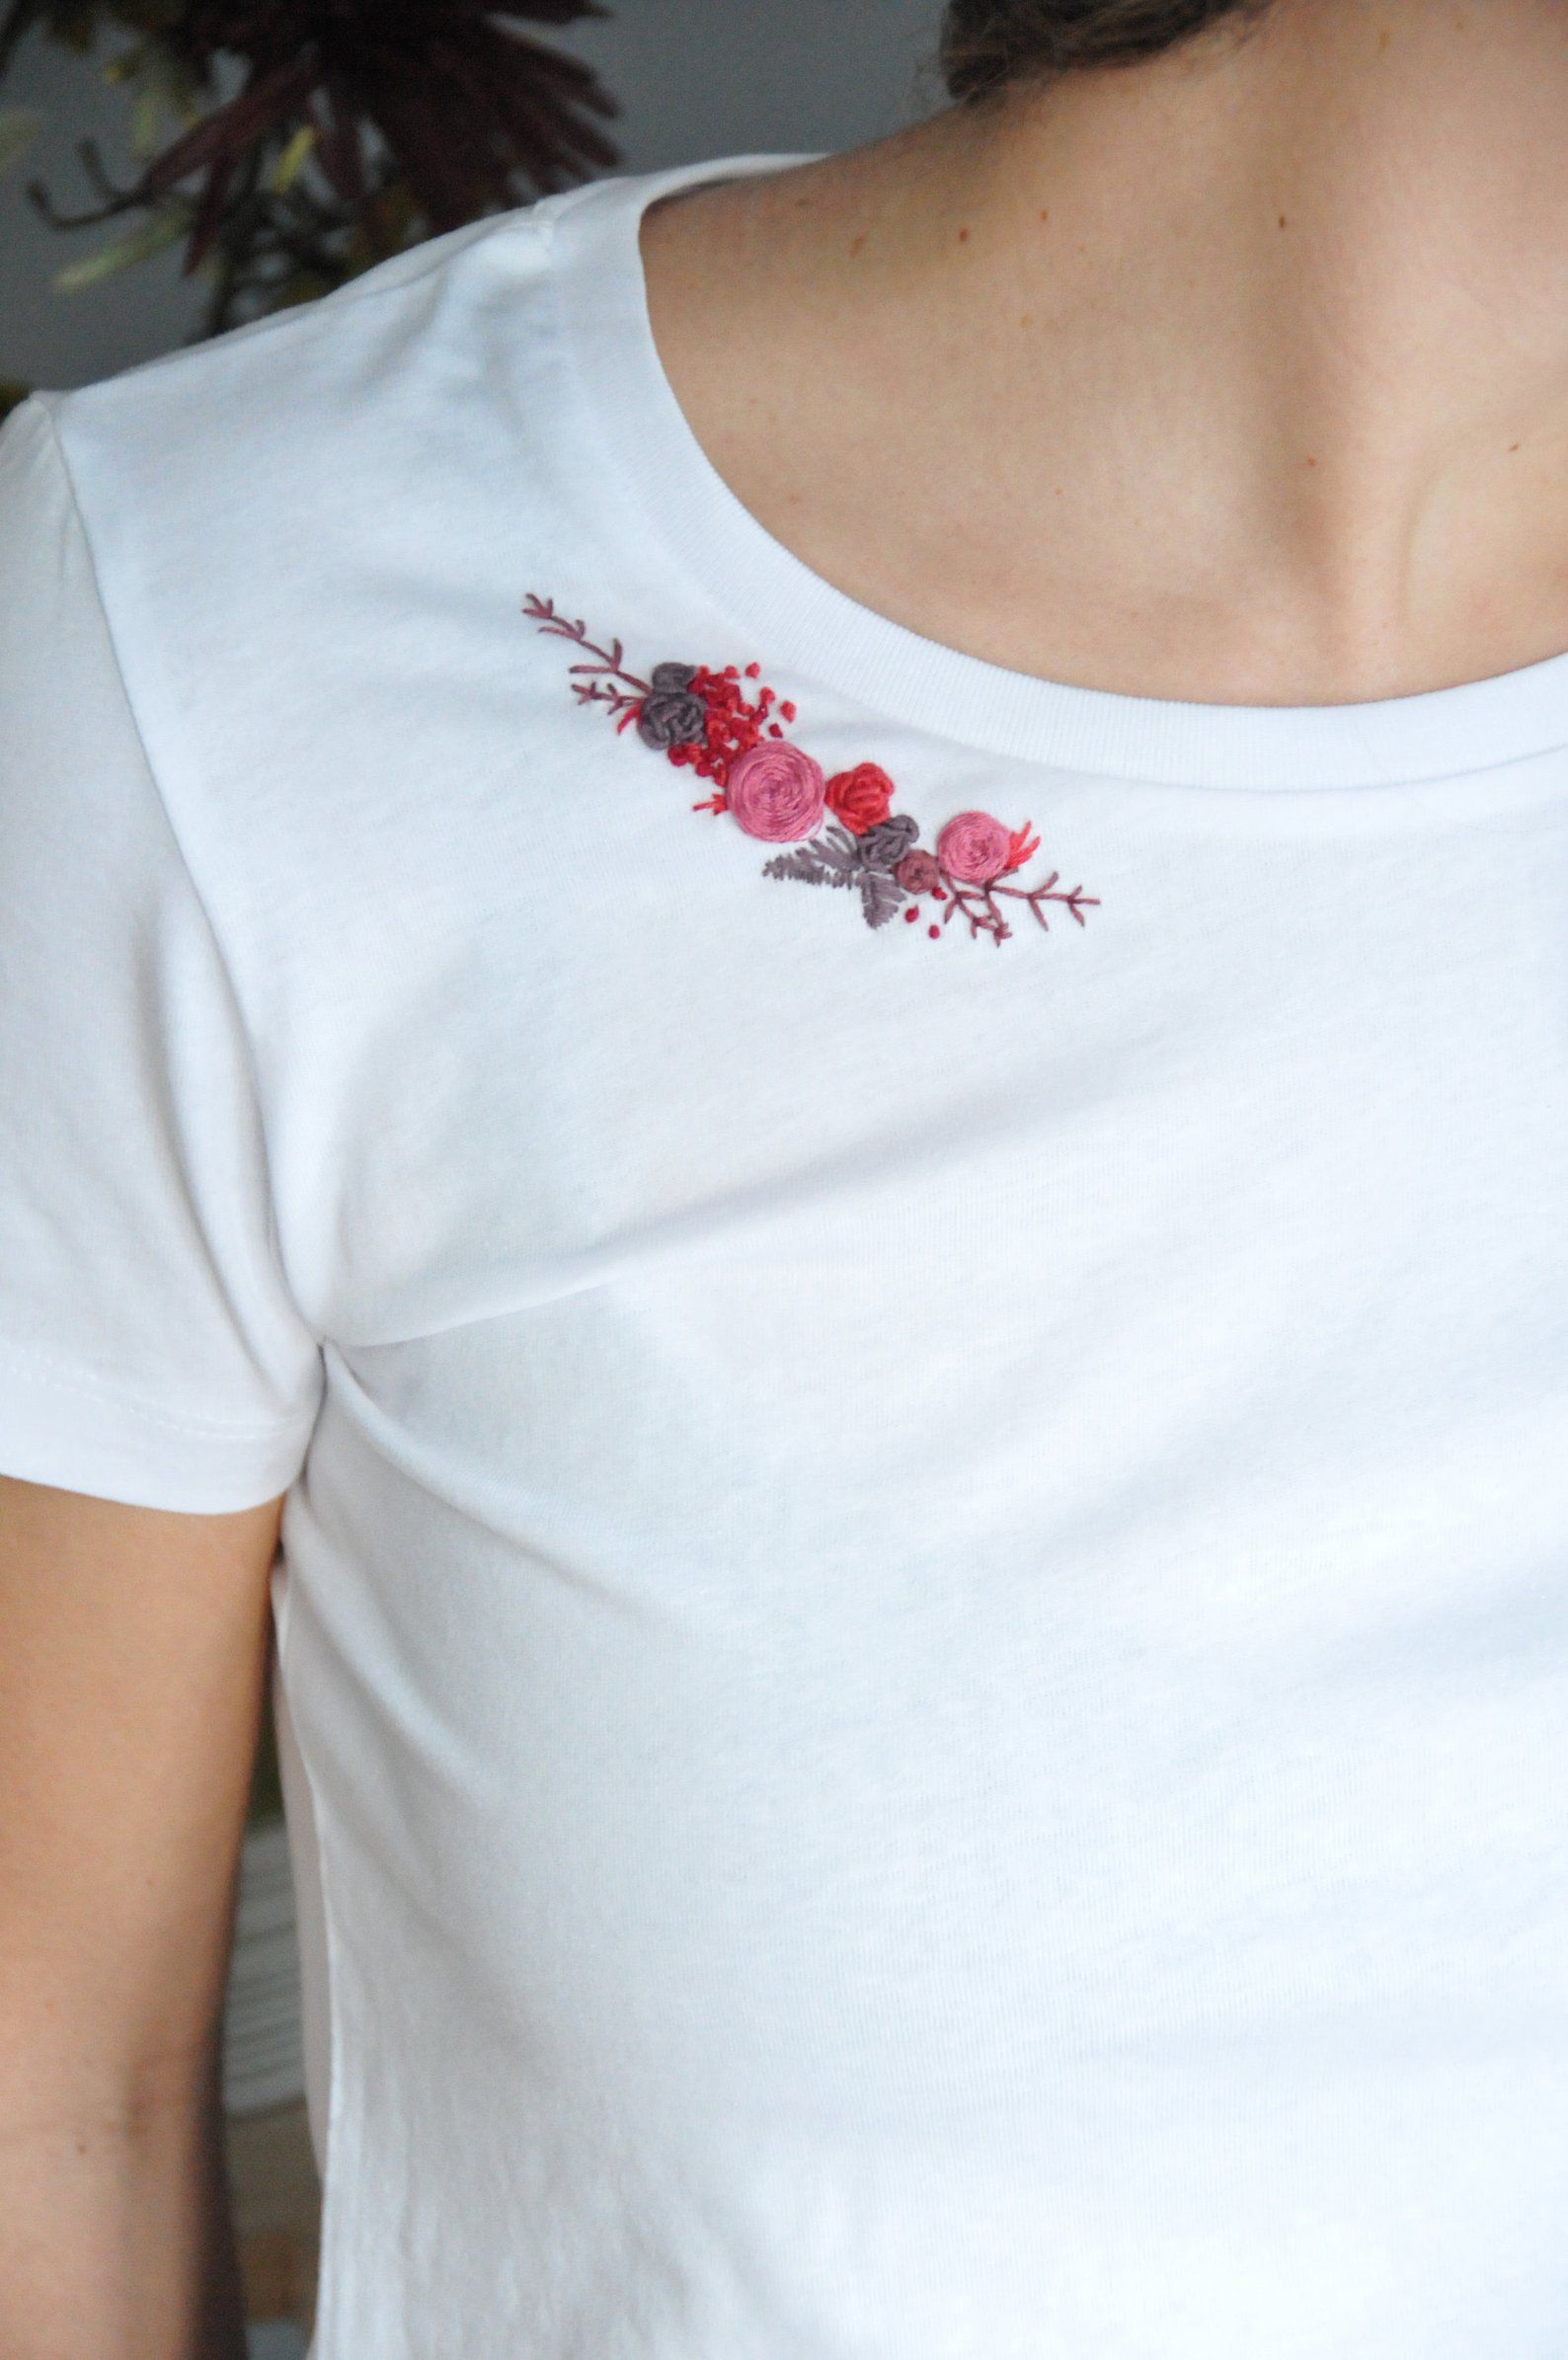
You don’t need much to turn an ordinary item of clothing into something spectacular. All you need is some embroidery thread, a needle, a hoop, a suitable method for transferring the image to the fabric, a few hours to spare, and Buddha’s patience — just kidding. Embroidery uses brightly colored threads to create attractive motifs on cloth; the texture, color, and overall appearance of your garment are all enhanced by this embellishing work.
Essential Accessories
To begin an embroidered project, you don’t need much. Only a few essential supplies are required:
Needlework needle –
Most embroidery techniques require embroidery needles in sizes 1-10, which may be purchased in a box (like this one).
Embroidery floss –
‘Floss’ is the term for embroidery thread, which is made up of up to six strands twisted together to make a single thread. I’ll be using 6-strand floss for this project). DMC Cotton Embroidery Floss is one of the most versatile embroidery flosses available. (For a complete list of DMC’s products, go visit their website here.)
Embroidery (small) scissors —
You can use any pair of scissors, but for such a delicate craft as embroidery, I find that little scissors are easier to use.
Fabrics
They have a lower thread count (enabling the needle to pass through a little easier) are usually the best to use, such as cotton, linen, and muslin.
Embroidery hoop –
An embroidery hoop helps you design by keeping the cloth taut. Many artists are now using the hoop as a frame and hanging their work directly from it. Hoops are available in a range of sizes. I used a 5-inch bamboo hoop for this technique, but you can also get variation packs like this one or this one.
How To Embroider Designs On Clothing By Hand?
The following is a DIY. You can always consider the embroidery shops or embroidery services near you to get the job done.
Step 1: Choose your outfit.
You may have already made up your mind about what you want to embroider. However, especially if you are a beginner, it is critical to select the right fabric for your embroidered design. Starting your first embroidery project on a thin fabric like chiffon or net is a sure-fire way to ruin your chances of becoming addicted to needlework. You’ll be driven away by your frustrations.
Step 2: Gather all of the materials you’ll need.
A needle that is suitable for needlework.
The thread is suitable for embroidery.
Hoop for embroidery.
To draw a design on fabric, use a sharp HB pencil.
If you need to transfer the design, use a carbon sheet.
Step 3: Decide where you want the embroidery to go.
This is a separate topic. You can embroider on the back, the cuffs, the collars, the pockets, one side of the yoke, both sides of the yoke, and diagonally on the front.
Step 4: Select a design
As previously said, the design you choose is heavily influenced by the fabric and the sort of garment you’re making.
Step 5: Pick a color scheme
You can color in the design with colored pencils to see how the color scheme you choose to employ will look in the end.
Step 6: Get the fabric ready for embroidery.
Prewash the clothes to remove any excess sizing and to avoid shrinking – this is vital since puckers may occur if the fabric of your apparel shrinks later but your embroidery stitches do not. All wrinkles should be pressed out after drying.
Step 7: Select embroidery floss
For embroidering on clothing, I use good-quality cotton embroidery thread. Although their sheen and elegance may attract you to buy them, silk, rayon, and other similar fabrics can be difficult to work with for novices, and bright colors may bleed.
Step 8: Transfer the design
Drawing the design freehand is the simplest way to begin embroidering. You’ll want to use water-soluble pens or pencils to design with (the ink washes out/fades out once you’ve finished the needlework). For broad outlines, use chalk, but keep in mind that it will smear.
Do not stray from the design or create a series of wobbly lines. You’ll need a continuous line, so practice on scrap or paper first if you’re new to sketching freehand.
Step 9: Begin stitching
Wash your hands before you begin embroidering and after each break, especially if you went to the kitchen. Clothing can be stained by oil stains, turmeric, and even sweat.
Keep the pattern area stretched taut on the hoop or frame so that you can embroider smoothly. However, if you want to skip this step, that’s fine. Without the hoop, you can still embroider fine. It’s simply more difficult.
Step 10: Washing and caring for the embroidered item
If you didn’t prewash the embroidery thread, it’s possible that the colors, especially the rich reds, purples, and blues, will bleed into the surrounding areas.


